
The documents below contain installation and software downloads for the DSR1 signal processor.
| Installation Guides |
-
DSR1- 8-Channel Interactive Signal Processor w/ Integrated iDatalink Maestro Module [Download Installation Guide]
| PerfectTune™ App Download |
-
The Rockford Fosgate® PerfectTune™ app is designed for use with the Rockford Fosgate DSR1 8 Channel Interactive Signal Processor with Integrated iDatalink Maestro Module. PerfectTune™ allows initial setup and configuration of the DSR1 and make adjustments required to tune the system for best audio performance.
| DSR1 Software Update Instructions |
-
Launch Web Browser (Chrome, Edge, Safari, etc)
• WebLink is compatible with Windows & Mac.
-
Go To Maestro Site
• weblinkupdater.com/weblinkdesktop/
-
Install "Weblink Desktop" (For PC and Mac)
-
For Mac: Select your operating system. Click the Apple menu icon, then choose "About This Mac". Choose the proper OS from the dropdowns
- If your Mac OS is not listed, the Weblink Desktop application will not work.
-
Click the download icon to the right
-
For Mac: Select your operating system. Click the Apple menu icon, then choose "About This Mac". Choose the proper OS from the dropdowns
-
Connect DSR1 to PC
• Use the micro-USB to USB cable included in your DSR1 package.
• Please use the USB cable supplied with the DSR1. Failure to do so (using a longer cable) may cause connection problems.
-
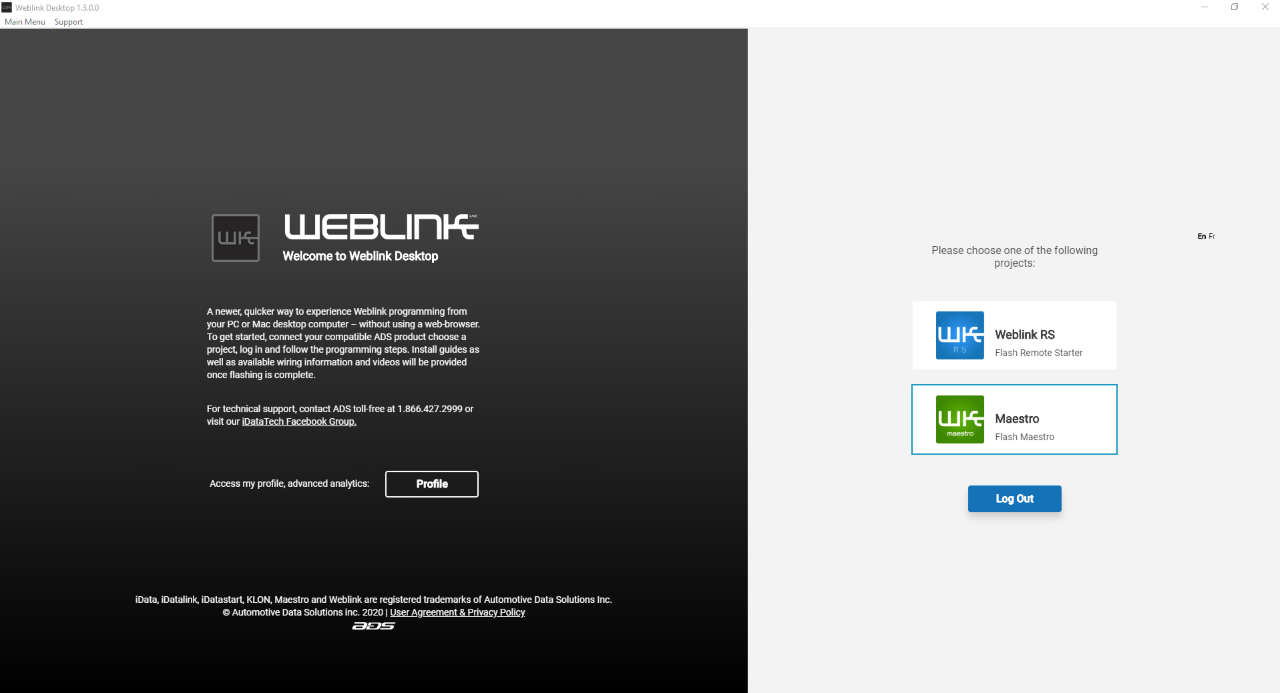
Launch Weblink Desktop
-
Log in to your existing Weblink account.
- Don't have an account? Click "Sign up" below the log in button.
- If making a new account, you will have to check your email for an activation link to enable your account.
- Do NOT use Demo mode. It will not program your DSR1.
-
Log in to your existing Weblink account.
-
Click on "Flash Maestro"
• Wait for Weblink to recognize the DSR1.
• If the DSR1 is not recognized, disconnect and reconnect USB cable or try another USB port on the computer.
• Be sure only the Weblink Desktop site is open, DO NOT open DSR1 Updater utility at this time.
-
Enter Your Login Information
-
Embedded Device (BLEARDC) update.
• Click "Re-Flash Embedded Device"
• The DSR1 mainboard firmware v1.5.6.0 and above requires a Bluetooth update and re-flash of the Maestro settings.
-
After Flash has been completed, select “RE-DETECT”
-
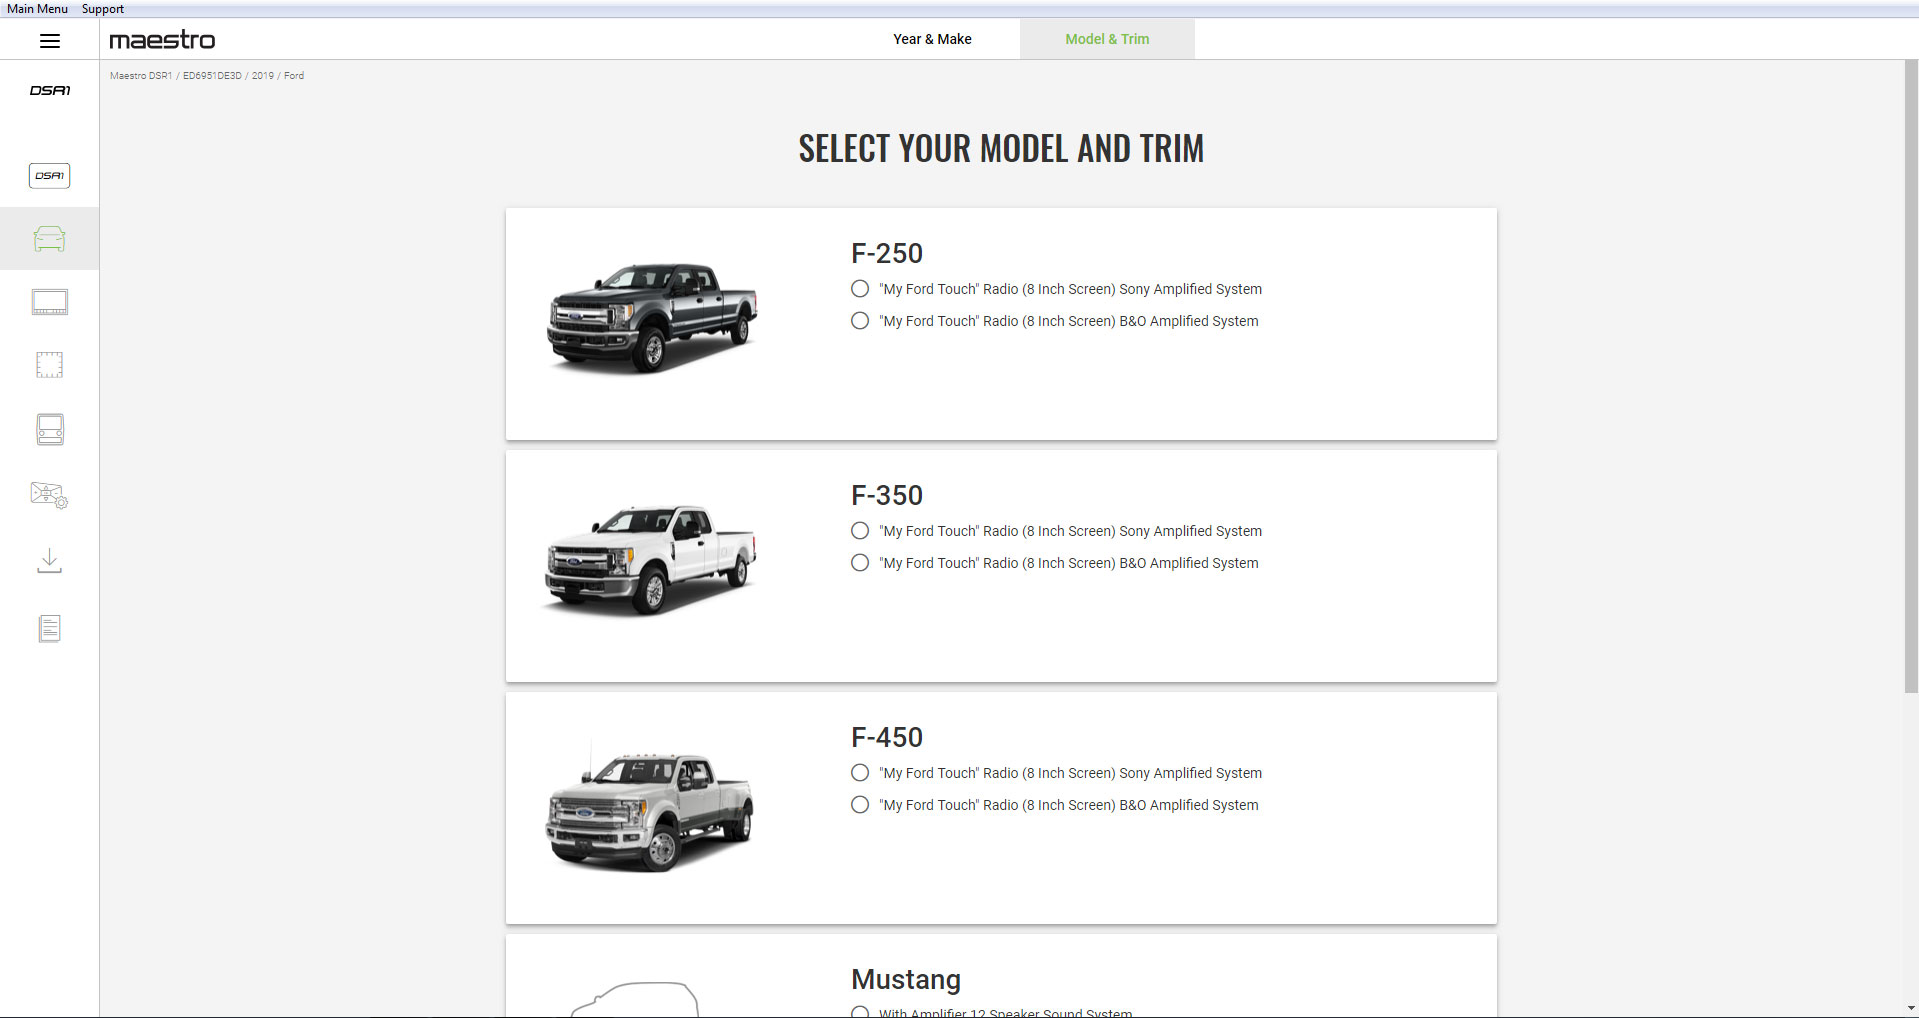
Click “FLASH BY VEHICLE”
-
Select Vehicle Year and Make.
• For Universal Mode (RCA Output,) select "Other".
-
Select Your Model and Trim
-
Select Your OEM Radio
-
Select the Recommended Firmware
-
Select the Accessories being used. Click "Continue"
-
Select Optional OEM controls. Click "Continue"
-
Click “FLASH”
• DO NOT disconnect USB cable while programming the module.
-
When done, "The Flash Was Completed With Sucess” will appear
-
Close Weblink Desktop program before using DSR1 Updater program


| Update DSR1 Software |
-
Download DSR1 Updater Software
• Download and Launch the DSR1 Updater program from the below chart.
• Only have DSR1 Updater utility open. DO NOT keep Maestro site and DSR1 Updater utility open simultaneously.DSR1 Updater Software Release Version Description Notes
(*.txt)Software
(*.exe)06/18/2018 2.1.1 - Fixed issue of not reading two-digit version numbers correctly
- Fixed issue of not automatically detecting device on startupnotes 05/21/2018 2.1.0 - Fixed issue of closing out app in order to program another device
- Improved installation processnotes 04/23/2018 2.0.0 - Fixed issue that could cause the device to be bricked if the USB cable was unplugged during upgrade process
- Misc improvements and bug fixesnotes 10/27/2017 1.1.3 - Added factory reset option for all audio settings (default is off) notes 09/06/2017 1.0.4 - Original MP Release notes -
DSR1 Updater Software
• This is the default screen for the DSR1 Updater.
-
Connect to DSR1
• Under Step-1 click "Scan For Devices".
• Device should be detected automatically.
-
Download and Install DSR1 Firmware (DSRA)
• Download latest DSRA file from chart below.
• Extract DSRA file from ZIP using unpacker utility like 7-Zip or Win-Zip before proceeding.
• Under Step-2 click “Open File” button to select the DSRA file downloaded from website above.
• Check box to "Reset DSR1 to Factory Settings" (important if problems arise or installing in a different vehicle.)
• Confirm the update file version number.DSRA Firmware Downloads Release Version Description
Notes
(*.txt)Software
(*.dsra)7/26/2022 1.9.8.0 - Fixed issue where some amplifiers would have pop noises when powered on. notes 5/29/2019 1.9.4.0 - Add PLC control task restart when received DSP task readiness, to fix bug of no subwoofer output in started car with PLC2 connected.
- Change ADS volume back to 80dB.notes 02/20/2019 1.9.3.0 - Fixed issue of volume resetting when switching back from navigation to music in Maestro mode notes 11/11/2018 1.9.2.0 - Fixed occasional turn-on pop noise in standalone mode in some vehicles notes 10/18/2018 1.9.0.0 - Added support for adjustable delay feature notes 08/28/2018 1.8.1.0 - Fixed misc. issues notes 08/22/2018 1.7.3.0 - Re-Flash DSR1 using Weblink when running T-Harness on this firmware
- Fixed issue of no audio after phone call in Maestro mode
- Fixed issue of no audio after Siri voice prompt in Maestro mode
- Changed radio volume knob minimum range from -60dB to -80dB in Maestro modenotes 06/01/2018 1.7.0.0 - Re-Flash DSR1 using Weblink when running T-Harness on this firmware
- Improved compatibility with PTS (push-to-start) vehicles
- Changed default crossover alignment from Butterworth to Linkwitz-Riley
- Fixed issue resulting in lower system gain after uploading preset to device
- Fixed Maestro issue of volume mismatch when switching from phone to music
- Fixed Maestro issue of glitch when switching between phone and musicnotes — 04/10/2018 1.5.6.0 - Re-Flash DSR1 using Weblink when running T-Harness on this firmware
- Added support for Toyota Maestro vehicles
- Fixed issue of device restarting in some start-stop vehicles
- Fixed issues of loud chimes / voice / navigation in Maestro mode
- Fixed issue of low output voltage sensitivity in Maestro mode
- Improved Bluetooth communication with APP
- Misc. fixes and improvementsnotes — 03/12/2018 1.4.4.0 - Re-Flash DSR1 using Weblink when running T-Harness on this firmware
- Fixed issue of pop when switching to Bluetooth for voice callnotes — 03/12/2018 1.4.3.0 - Re-Flash DSR1 using Weblink when running T-Harness on this firmware
- Fixed issue no audio when switching to SPDIF input mode—
03/02/2018 1.4.2.14 - Re-Flash DSR1 using Weblink when running T-Harness on this firmware
- Improved vehicle communication in Maestro mode
- Improved app communication
- Fixed issue of loss of audio on ignition due to low battery
- Fixed issue of turn-on / turn-off pop in some installations
- Fixed issue of Maestro chime volume too loud
- Fixed issue of Maestro slow chime latencynotes — 12/05/2017 1.4.1.0 - Re-flash DSR1 via Weblink if using T-harness with v1.3.x.x or newer
- Increased turn-off delay from 0.5 to 4 seconds to fix occasional turn-off pop in non-Rockford amplifiersnotes — 11/27/2017 1.4.0.0 - Re-flash DSR1 via Weblink if using T-harness with v1.3.x.x or newer
- Added ability to read on/off state of customer selectable radio functions from Maestro for APP compatibilitynotes — 11/10/2017 1.3.1.0 - Re-flash DSR1 via Weblink if using T-harness with v1.3.x.x or newer
- Fixed issue where rapid presses of bass, mid or treble buttons on radio caused temporary loss of audionotes — 10/31/2017 1.3.0.0 - Re-flash DSR1 via Weblink if using T-harness with v1.3.x.x or newer
- Fixed issue of Maestro radio commands resetting subwoofer level and Punch EQ when no PLC knob connectednotes — 10/06/2017 1.2.6.0 - Fixed issue of Maestro radio commands resetting PLC2 knob level
- Set default PLC2 knob function to not connectednotes — 09/27/2017 1.2.5.0 - Fixed rare issue of unit switching to aux or changing PLC level with no PLC knob attached notes — 09/08/2017 1.2.4.0 - Changed default crossover alignment from Butterworth to Linkwitz
- Fixed iDataLink volume resetting to max after changing channel config in APP
- Added volume ramp to improve popping issue
- Improved APP preset upload transfer time
- Updated device information reported to APP
- Fixed popping issue when adjusting crossovers on channels with trim levels set less than 0.0 dB
- Fixed iDataLink chime not playing on correct channel
- Changed iDataLink communication activity LED color to green
- Fixed issue where changes to channel configuration in APP would cause iDataLink to stop responding
- Improved iDatalink chime generationnotes — 09/06/2017 1.2.3.0 - Fixed issue where changes to channel configuration in APP would cause iDataLink to stop responding notes — 09/05/2017 1.2.2.0 - Fixed iDataLink chime not playing on correct channel
- Changed iDataLink communication activity LED color to greennotes — 08/30/2017 1.2.1.0 - Fixed popping issue when adjusting crossovers on chanels with trim levels set less than 0.0 dB notes — 08/11/2017 1.2.0.1 - Updated device information reported to APP notes — 08/10/2017 1.2.0.0 - Improved APP preset upload transfer time notes — 07/25/2017 1.1.1.0 - Changed default crossover alignment from butterworth to linkwitz
- Fixed iDataLink volume resetting to max after changing channel configuration in APPnotes — 06/26/2017 1.0.0.0 - Original MP Release notes —
-
-
Program Device
• Click “Upload To Device” to start programming.
• Wait for programming process to complete.
• WARNING: Do not turn-off power of disconnect USB cable during the update process! -
Confirm Firmware
• Confirm updates were properly flashed to DSR1
• Disconnect USB from computer
• Disconnect USB from DSR1 -
Cycle Power
• When installing the DSR1 into a vehicle, cycle Power ON, then back OFF to commit any remaining updates.


Comments
0 comments
Please sign in to leave a comment.